Pre-requisites
- Enabled: “My Domain” and “Lightning”
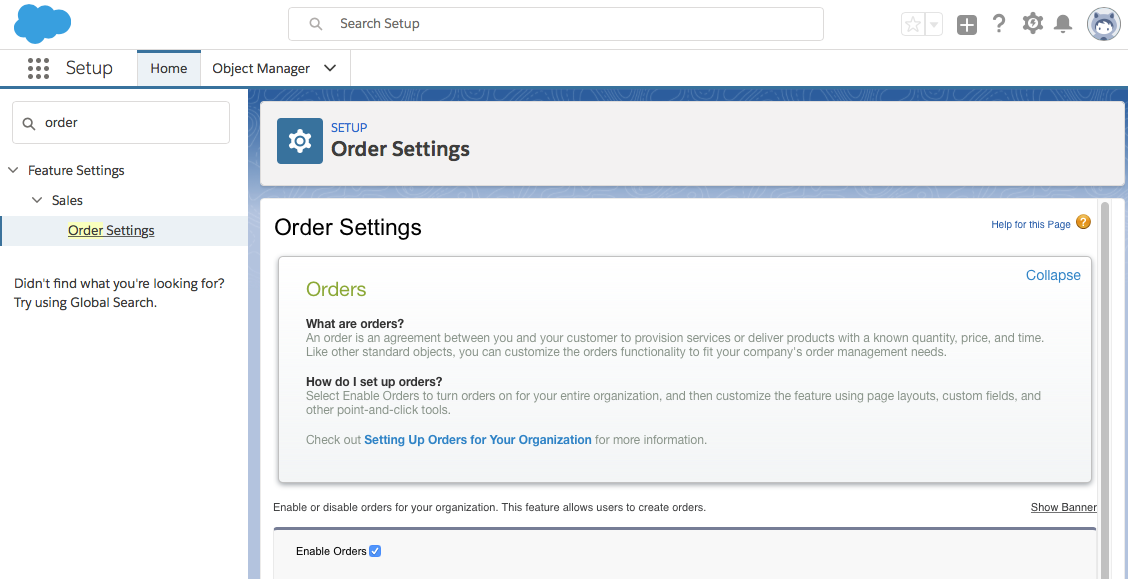
- Enabled: Orders
- Has to be enabled even if orders is not used by any user so the application can be installed and upgraded

Installation
Install the application from AppExchange via the “Get it now” button
- Choose Sandbox or Production
Post-install steps
Follow the video or text instructions below to get started. See FAQ if needed.
- Post install getting started guide (PDF with screenshots)
- Add permission set to your user
- Add tab “Subscription Forecasts” to Sales app
- Add button “Add To Subscription Forecast” to Opportunity page
- Create basic configuration by pressing a button
Getting Started Video (3.34 mins)
Enter the Setup menu in Salesforce and perform the following three steps:
1. Add Permission Sets to Users
- Navigate to ADMINISTRATION – Users – Permission Sets
- Assign the “Subscription Forecasting Admin” to your user
- Admin = Full access
- Optional: add additional users
- assign license to application
- Navigate to Setup-Platform Tools-Apps-Installed Packages
- click “Manage Licenses” link
- Navigate to Setup-Platform Tools-Apps-Installed Packages
- assign a permission set to the user
- assign license to application
- Assign the “Subscription Forecasting Admin” to your user
2. Add “Subscription Forecasts” Tab to Sales App
- Lightning: Navigate to PLATFORM TOOLS – Apps – App Manager
- Edit the Sales-LightningSales application
- Add “Subscription Forecasts” Item next to Opportunity tab for convenience
- Tabs for Lightning UI are named with “s” in the end and use this icon


- Optional step, Classic UI: Navigate to PLATFORM TOOLS – Apps – App Manager
- Edit the Sales – Classic application
- Add “Subscription Forecasting” Tab next to Opportunity tab for convenience
- Tabs for Classic UI are named without “s” in the end and use this icon

3. Add “Add To Subscription Forecast” button to Opportunity page in Sales App
- Navigate to PLATFORM TOOLS – Objects and Fields – Object Manager
- Click on “Opportunity”
- Enter “Page Layouts” menu
- Select the page layout in use by your Organisation (Layout for Opportunity)
- Lightning: Click on “Salesforce 1 & Lightning Actions”
- Drag and drop the “Add To Subscription Forecast Action” to the Experience Actions menu

-
- Optional step, Classic UI: Click on “Buttons”
- Drag and drop “Add To Subscription Forecast” button to Opportunity Detail – Custom Button section
- Optional step, Classic UI: Click on “Buttons”

4. Get basic configuration via “Create basic configuration” button (Setup page in the app)

Thats it. You ready to start using the application and update the configurations to fit your needs. Just let us know if you have questions.
